A pool fence serves two important purposes: safety and appearance. At Details Landscape Art, we often build fences that comply with California safety regulations while complementing the overall landscape design.
Although a pool fence may resemble a traditional redwood fence, special construction requirements must be followed to help prevent unsupervised access to swimming pools and spas.
Why a Pool Fence Is Important
Swimming pools are wonderful additions to a landscape, but they also require careful attention to safety.
California’s Swimming Pool Safety Act requires residential pools to incorporate approved safety measures designed to reduce the risk of accidental drowning. One of the most common solutions is a properly constructed pool enclosure that separates the pool area from the remainder of the property.
A pool fence can provide:
- Increased safety
- Code compliance
- Property definition
- Attractive screening
- Peace of mind for homeowners
When properly designed, a pool fence can become an attractive landscape feature rather than simply a safety barrier.
Requirements
Fence requirements are intended to discourage climbing and unauthorized access.
Current California regulations generally require a minimum fence height of five feet, limited openings, and self-closing, self-latching gates. The spacing between fence components and the clearance beneath the fence must also comply with applicable codes.
Because building codes can change over time, homeowners should always verify current requirements with their local building department before beginning construction.
Construction
The basic construction process is similar to many other redwood fencing projects.
Fence posts are carefully spaced, aligned, and installed in concrete footings to create a strong and durable structure. Proper post spacing helps reduce rail deflection and contributes to the long-term stability of the fence.
One important difference between a pool fence and a standard privacy fence involves climbability.
Traditional fences often include a center rail that provides additional support. On a pool fence, however, rails and other components must be positioned carefully to avoid creating features that could assist a child in climbing over the fence.
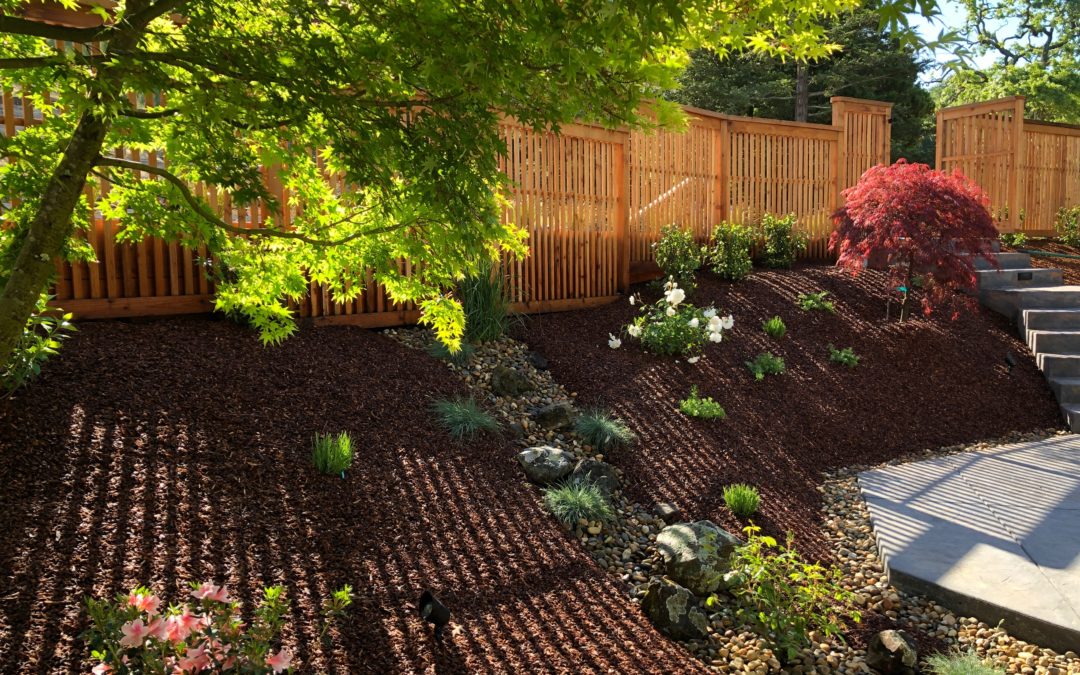
Vertical fence boards are installed according to the required spacing guidelines, creating an attractive appearance while maintaining compliance with safety standards. Redwood pool fence
Safety and Appearance Can Work Together
Some homeowners assume that safety fencing must be unattractive. In reality, a well-designed pool fence can enhance the overall appearance of the landscape.
Redwood remains one of our preferred materials because of its natural beauty, durability, and compatibility with a wide variety of garden styles.
Decorative caps, attractive hardware, and thoughtful detailing can transform a functional safety barrier into an appealing landscape feature.
A Pool Fence Built to Last
A properly constructed pool enclosure provides both safety and long-term durability.
Quality materials, careful craftsmanship, and attention to code requirements all contribute to a successful project.
At Details Landscape Art, we build pool fences that help homeowners meet safety requirements while complementing the beauty of the surrounding landscape throughout Sonoma and Napa Counties.