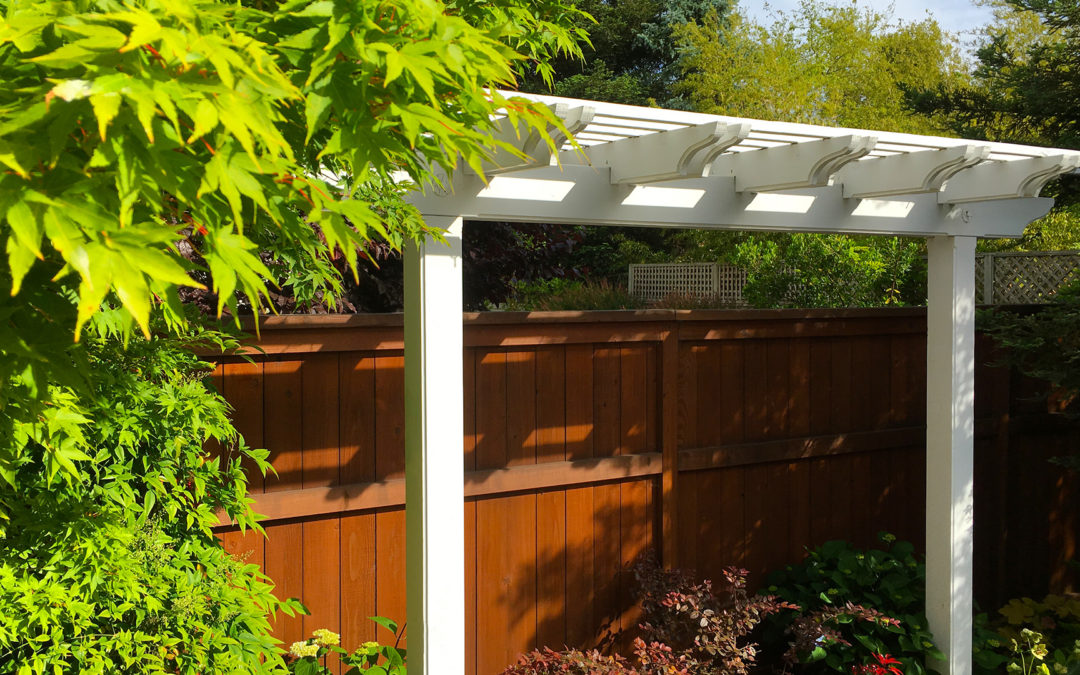
A privacy fence is one of the most important features in many Sonoma County landscapes. It provides privacy, security, property definition, and an attractive backdrop for planting beds and outdoor living spaces. At Details Landscape Art, we build privacy fences designed to remain straight, strong, and attractive for many years.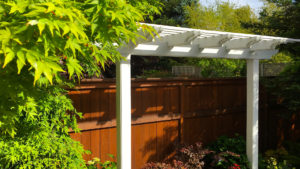 A beautiful six foot, three-rail redwood privacy fence
Since 1991, we have seen countless fences throughout the North Bay in various stages of disrepair. Some have simply reached the end of their useful life, but many failures are the result of poor construction. We often see leaning posts, warped boards, loose fence sections, and fences that begin deteriorating long before they should.
Over the years, we have developed a construction method that produces a stronger privacy fence by incorporating a center rail, proper post installation, and a protective cap along the top.
Why Privacy Fences Fail
Most fence problems begin with poor construction practices.
Posts spaced too far apart can allow rails and boards to bow over time. Inadequate concrete footings may result in leaning posts. Fences built with only top and bottom rails often lack sufficient support through the middle of the fence section.
Moisture is another enemy of wood fencing. Fence boards that remain in contact with the soil deteriorate much more quickly than those that are kept slightly above grade.
A well-built privacy fence addresses all of these concerns from the beginning.
Building a Stronger Privacy Fence
Construction begins by establishing a straight string line and carefully laying out the fence sections.
We generally limit spacing between posts to approximately eight feet. This helps create a more rigid fence structure and reduces the tendency for rails and boards to sag over time.
Post holes are dug approximately twenty-four inches deep and the posts are carefully aligned and leveled before concrete is placed.
One practice we avoid is pouring dry concrete into the hole and then adding water. In our experience, this often results in poorly mixed concrete and can allow water to migrate into the footing area over time. We prefer to thoroughly mix the concrete before placing it in the post hole.
Once the concrete has cured, the horizontal rails are installed.
Unlike many fences that utilize only top and bottom rails, our privacy fences include a third center rail. This additional support helps prevent fence boards from bowing and contributes significantly to the long-term durability of the structure.
Construction Details Matter
Fence boards are attached securely to the rails and held slightly above grade to minimize moisture damage.
We also install matching rails on the back side of the fence, effectively sandwiching the fence boards between the front and rear rails. This creates a stronger assembly and helps maintain the appearance of the fence over time.
A redwood 2×6 cap is installed along the top of the fence. The cap provides an attractive finished appearance while also helping protect the exposed tops of the fence boards from weathering.
These small details may seem minor individually, but together they create a fence that is stronger, more attractive, and longer lasting. Well built, sturdy, beautiful privacy fence
A Privacy Fence Built to Last
A privacy fence is an investment that should provide many years of service.
Quality materials, proper footing installation, adequate support, and careful craftsmanship all contribute to the longevity of the finished product.
At Details Landscape Art, we build privacy fences that complement the surrounding landscape while providing the privacy, security, and durability homeowners expect from a professionally constructed fence.